


The Piping was super easy to make and attach- just baste too the yoke then follow pattern instructions to attach. Here is a good tutorial on piping for home decor- but the philosophy is the same @ Sew4Home

I used snaps- figured WAY easier and more to the shirt style then buttons, but don't be fooled attaching and lining up snap is no joke! I got my Snaps and the little setting tool from Snap Source.

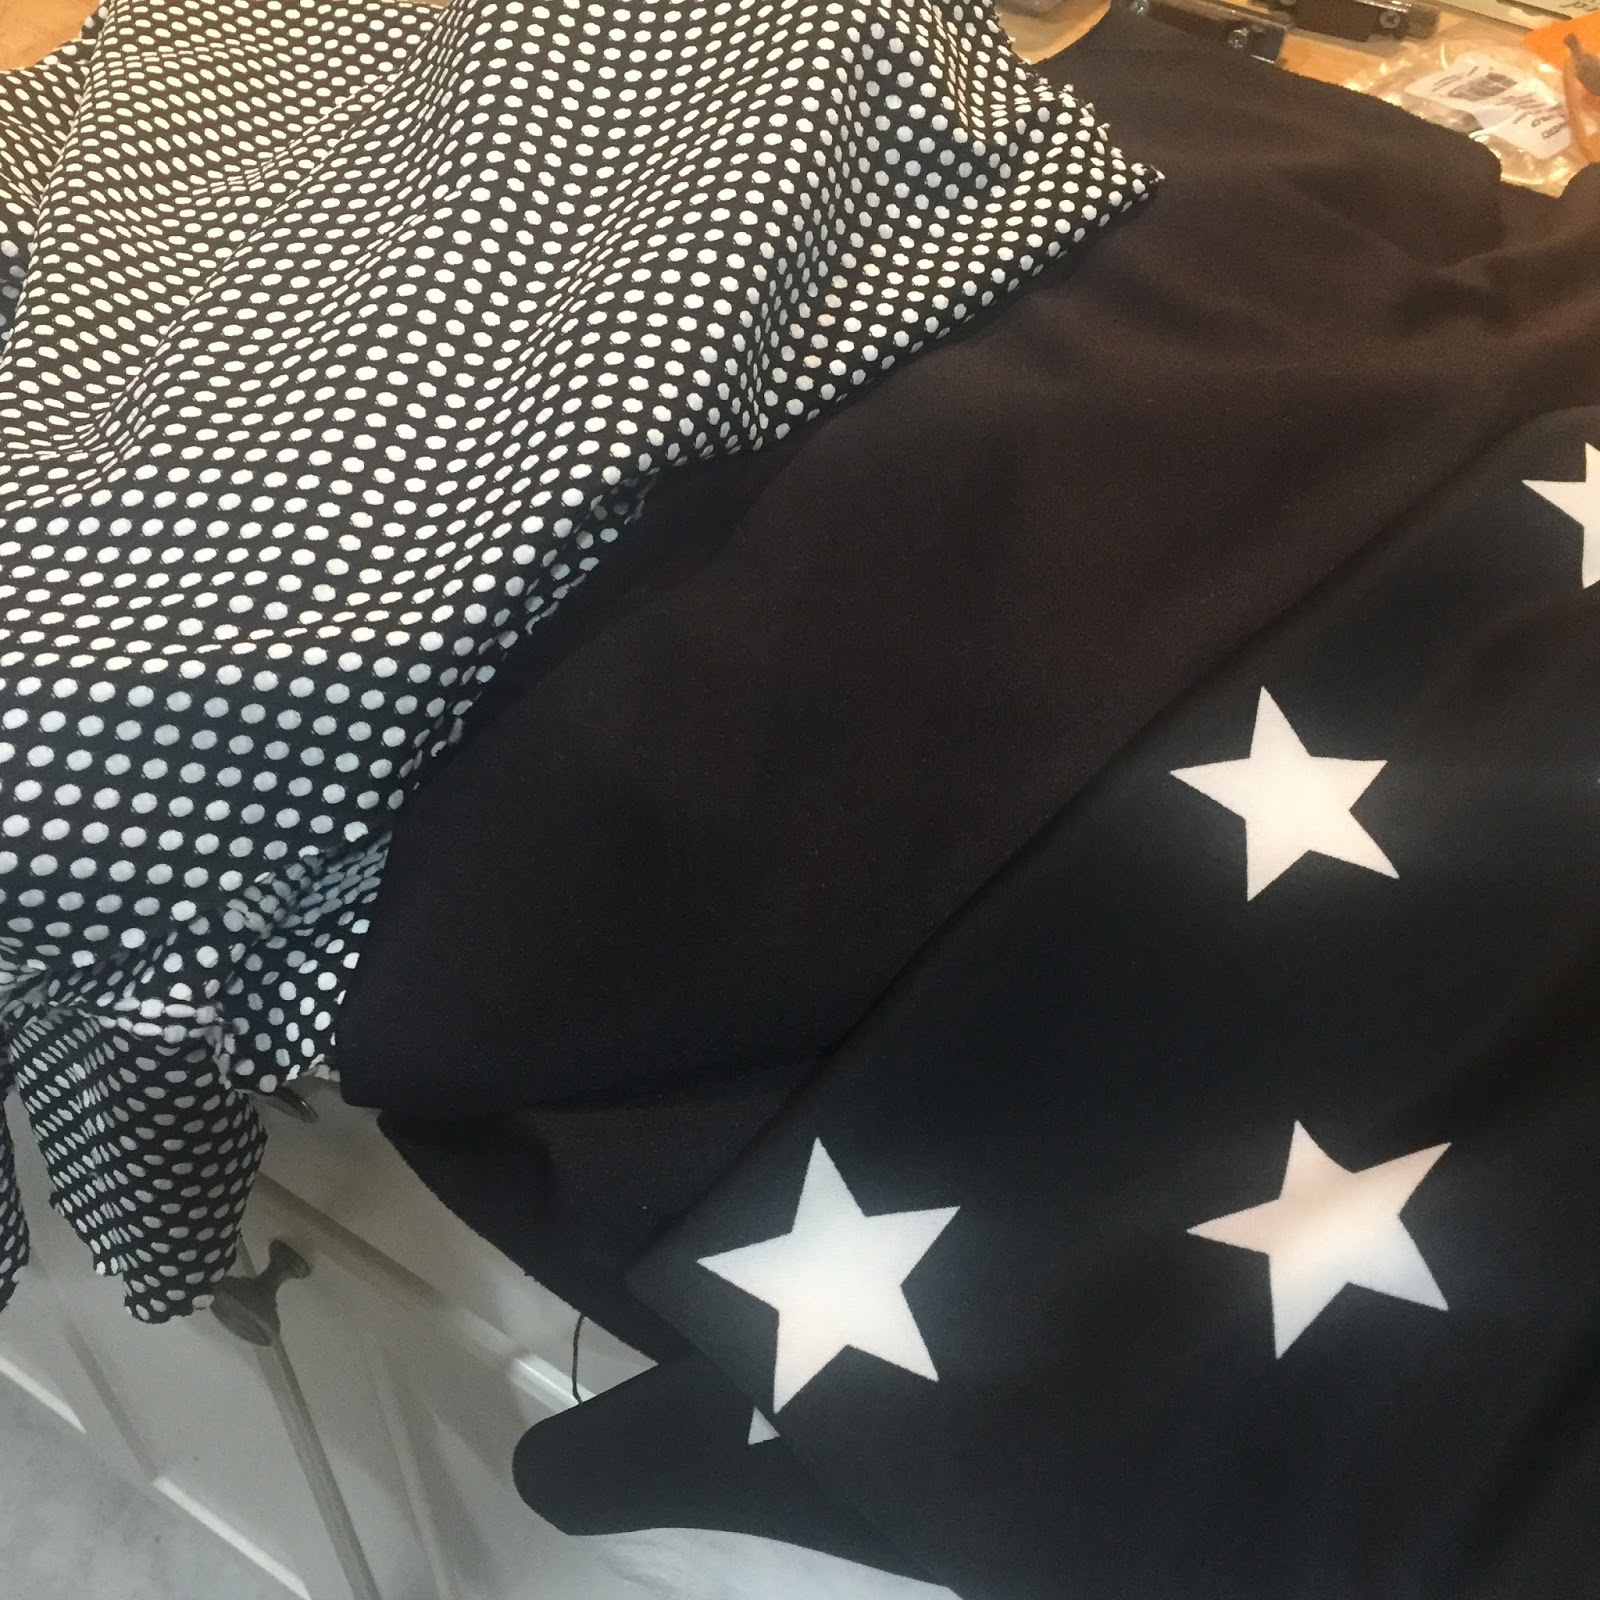
I got to use 4 different prints of fabric for this shirt

for the next one I can easily adapt the yoke to come down further and to be really any shape I want- also someone said the pockets look too high..hmmm not sure on that one, lower might look weird- must research!

I spend 95% of my life in my work uniform or in stretch pants and t-shirts. My Skate night is really the only time I have to wear my hand made clothes and express myself. I really love wearing this one even if it is a little small in the shoulder. I already made two more of these shirts! Need to get some pics up though- Happy sewing!